Monday, November 29, 2010

That's one kitchy kitchen

One week ago today, our kitchen was installed and we're really happy with the way it turned out. This is Adrian putting the finishing touches on it. There were concerns with how the colour scheme would work but the white seems to brighten up the grey walls and brown ceiling, and that should compliment the espresso-coloured flooring.


And this is how it looked first thing in the morning...


Last night I took this pic of the entry into the kitchen from the top of the stairs. By knocking out the old pantry and replacing it with shallower cupboards and drawers, we've gained a lot of room and the light from the window above the doorway really brightens it up.

And a slightly different viewpoint...


Here's an angle showing the work around the fireplace. On the left are the glass cupboards and below where the empty space is, we're putting the wine fridge. To the right is the wine rack.


A straight-on shot of what may end up being my favourite part of the entire kitchen. Once we get the cultured stone started around the fireplace, they'll come back and put in the spice rack, glass for the doors, the crown moulding and the hardware.


Monday, November 22, 2010

Can you smell what the Rock is cookin?

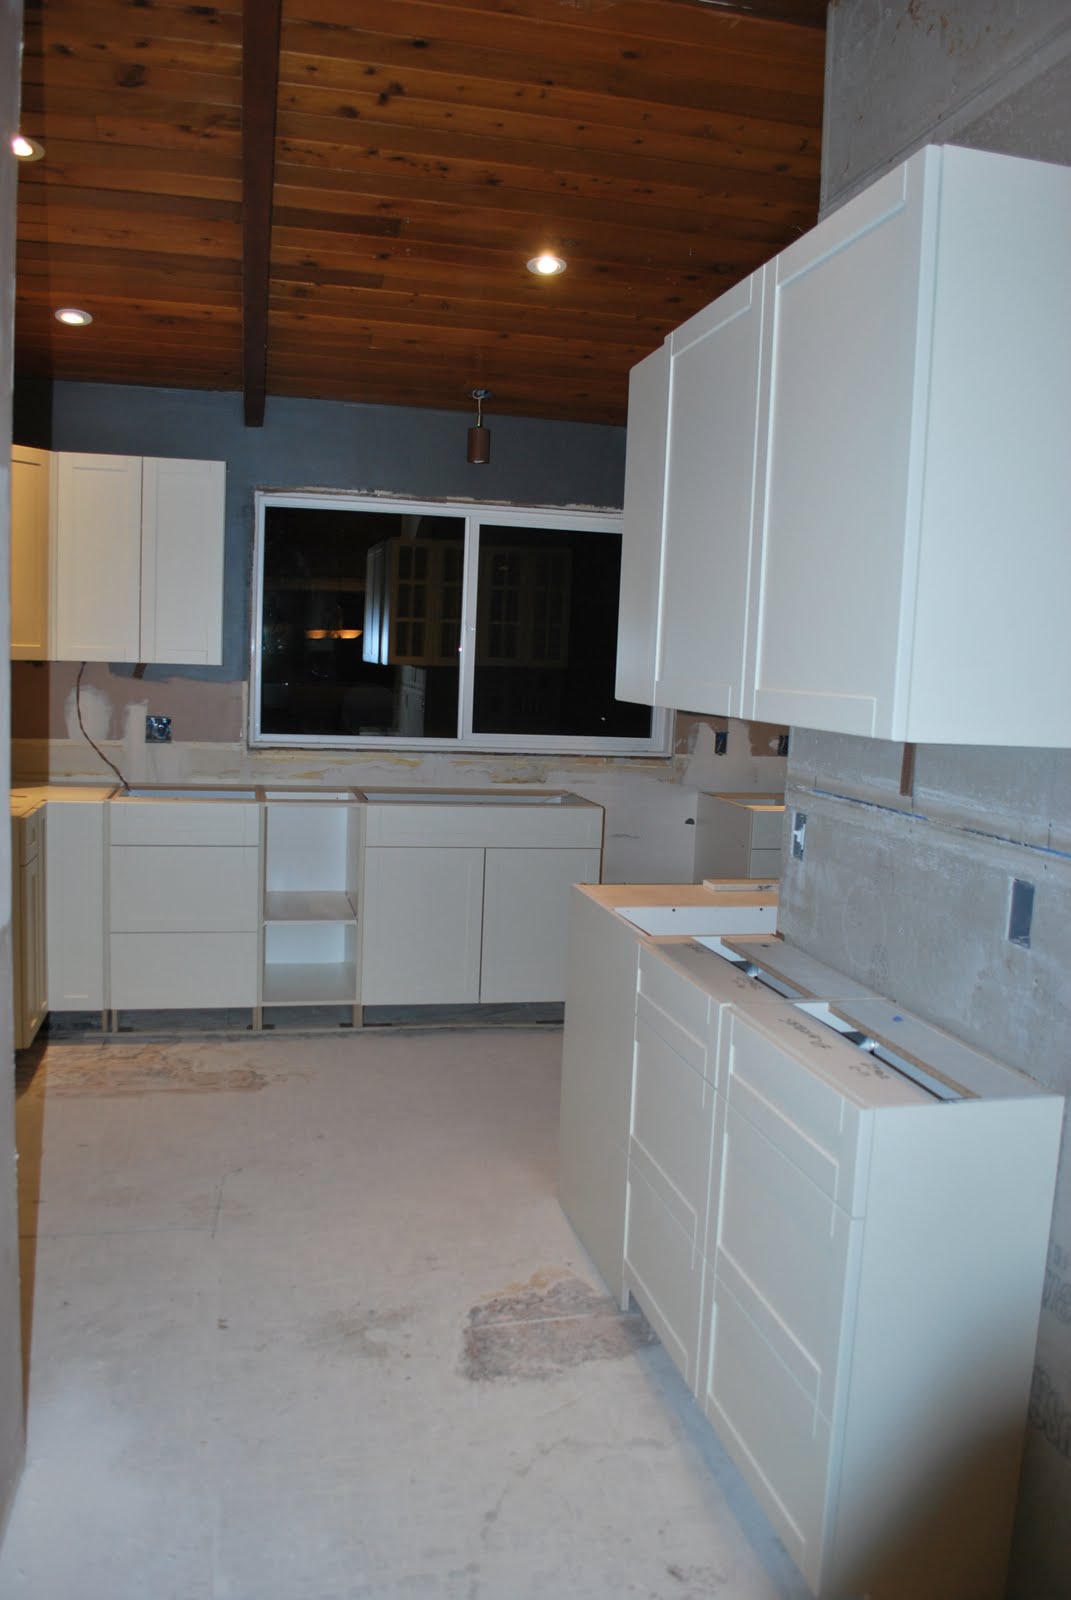
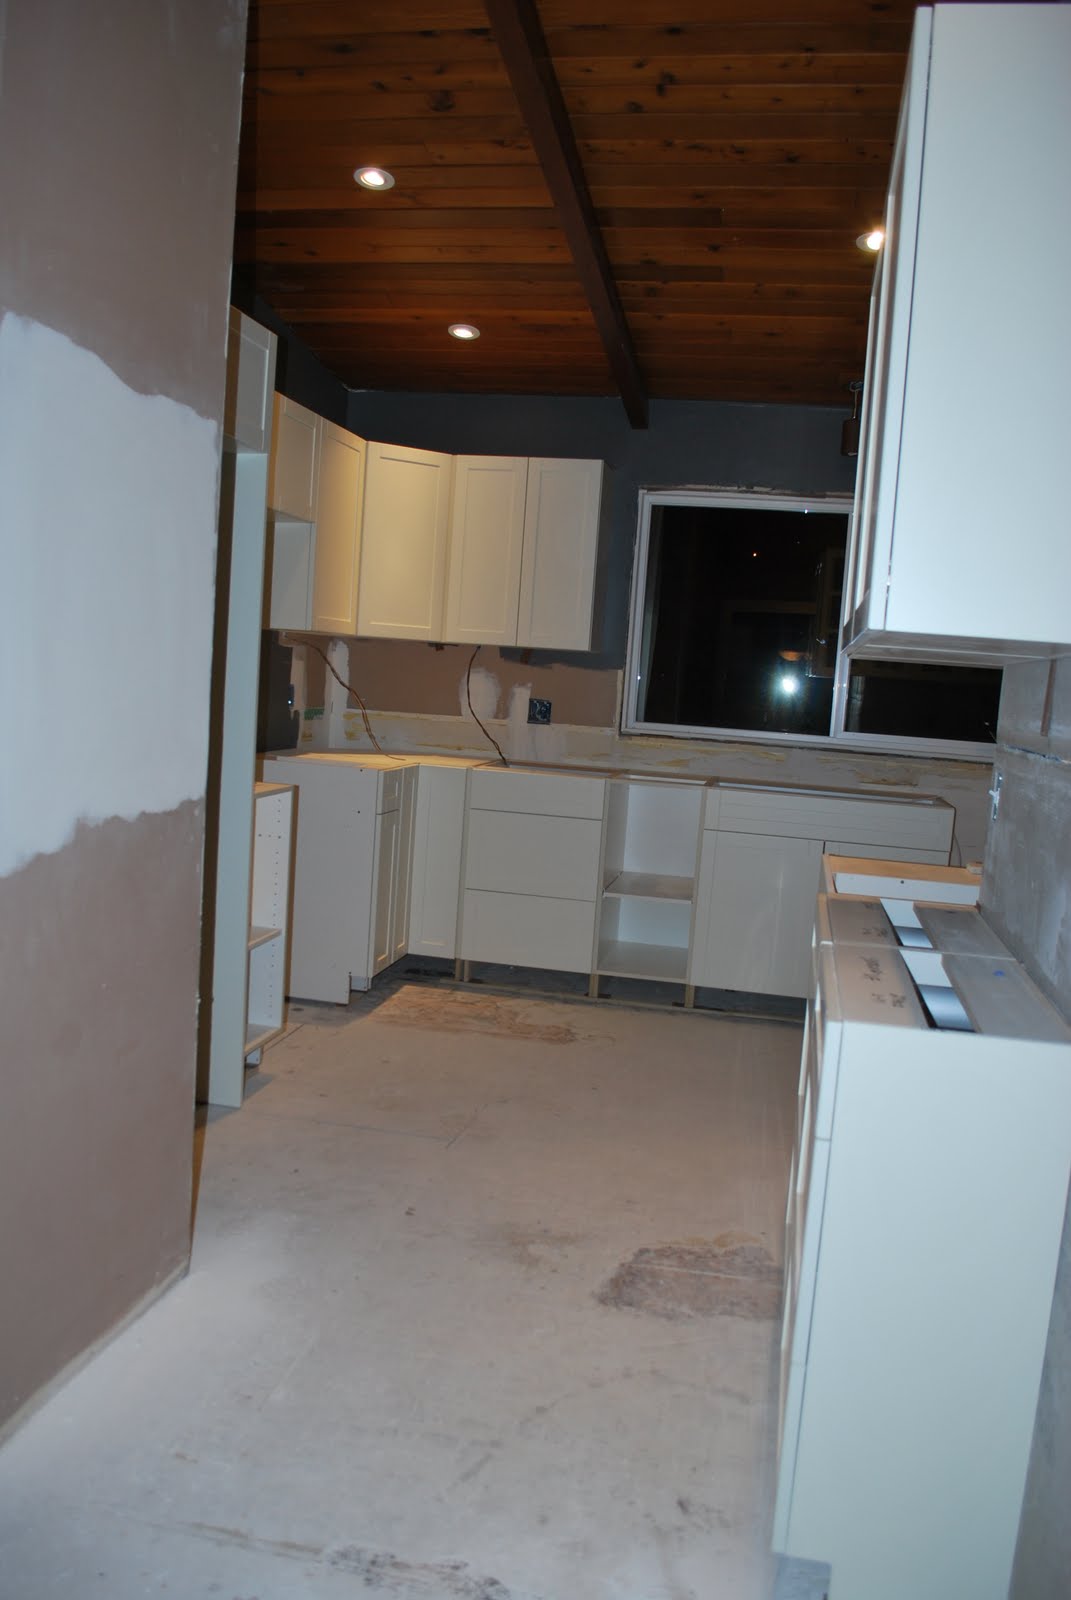
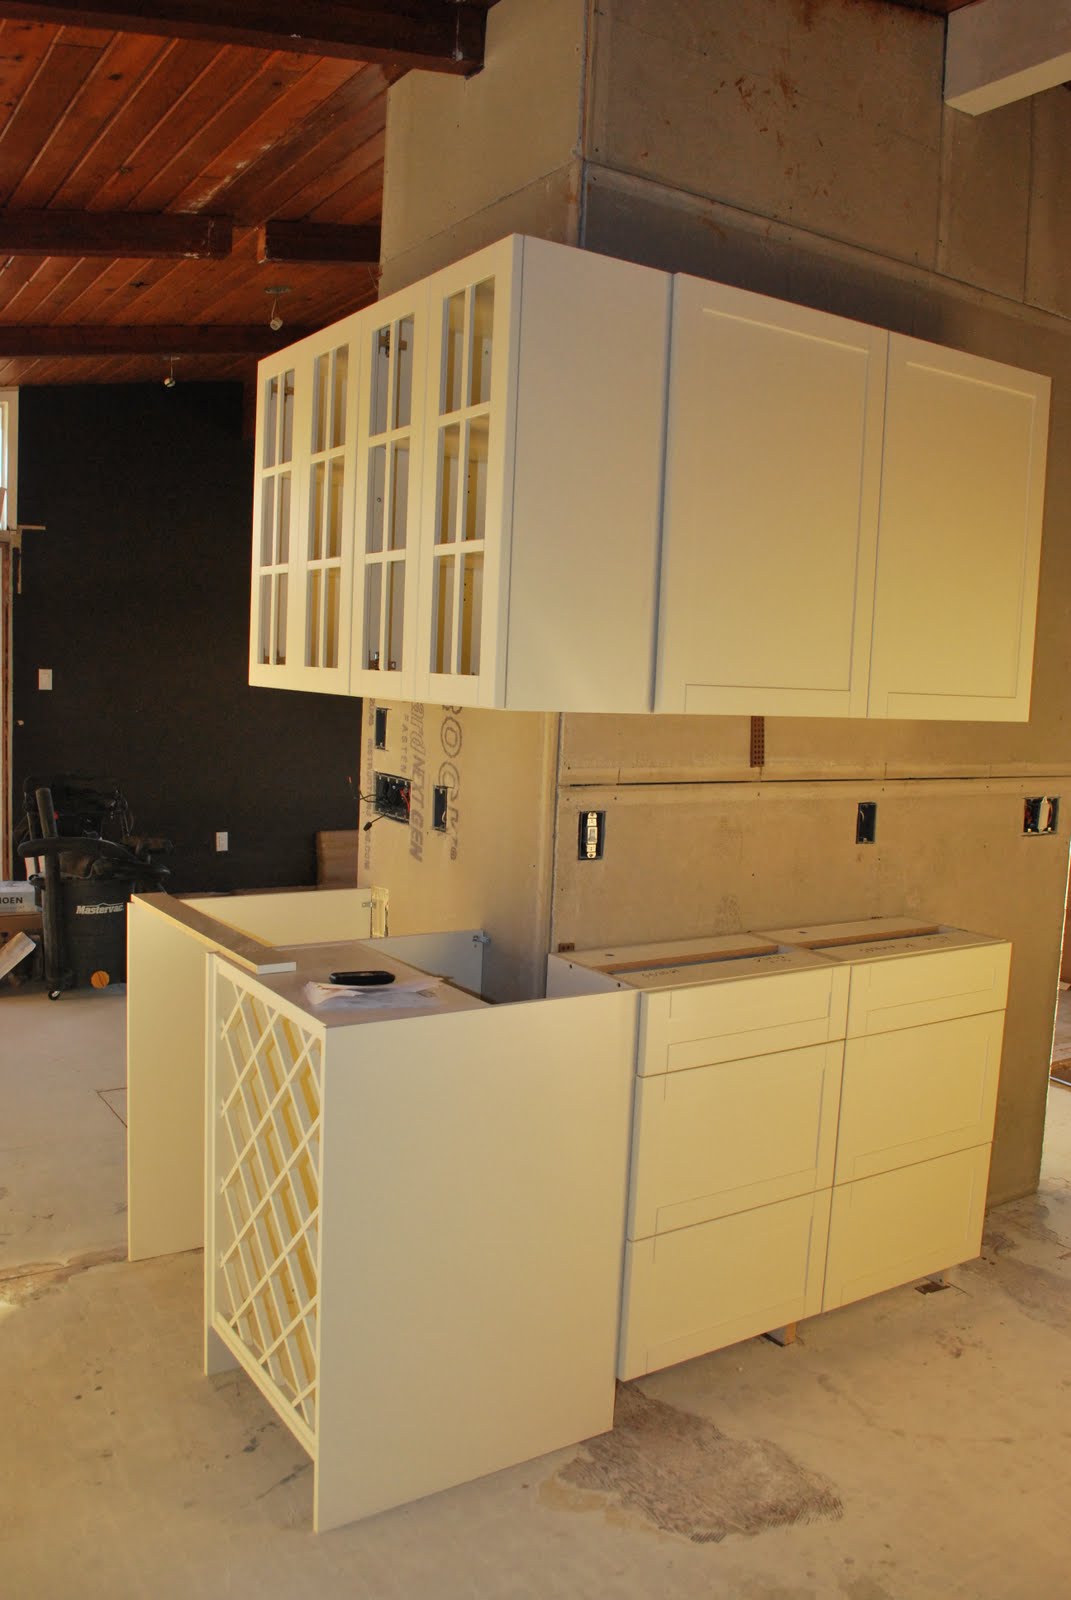
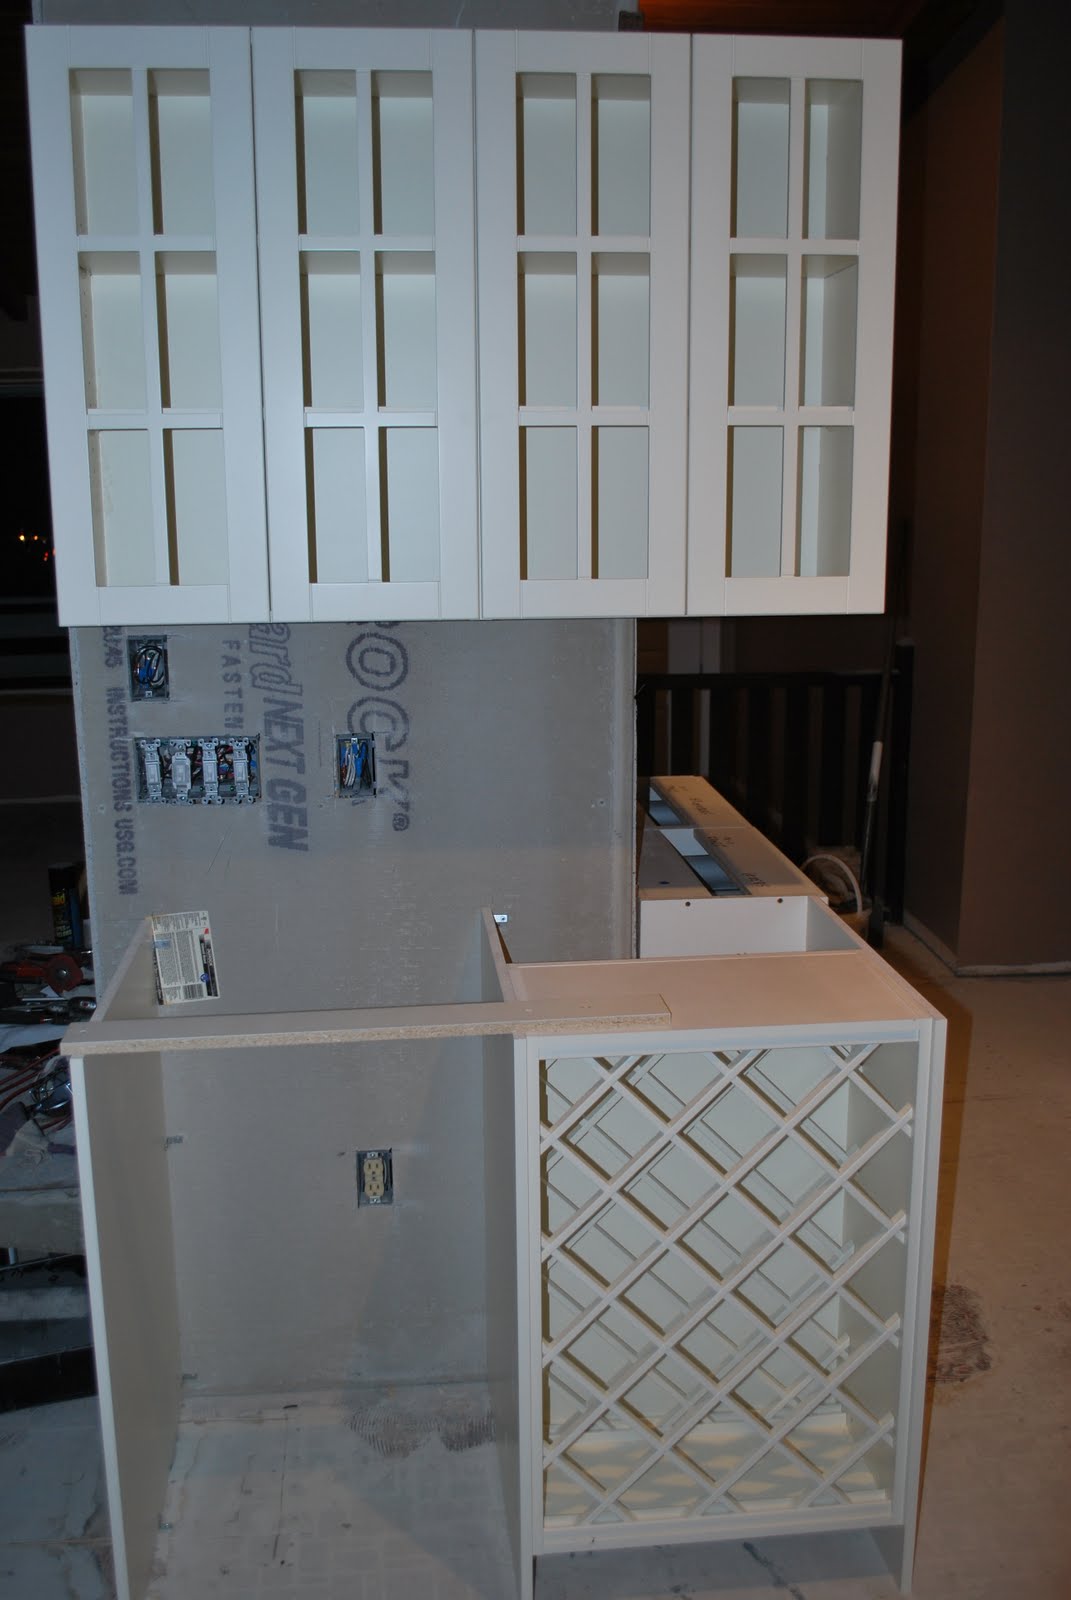
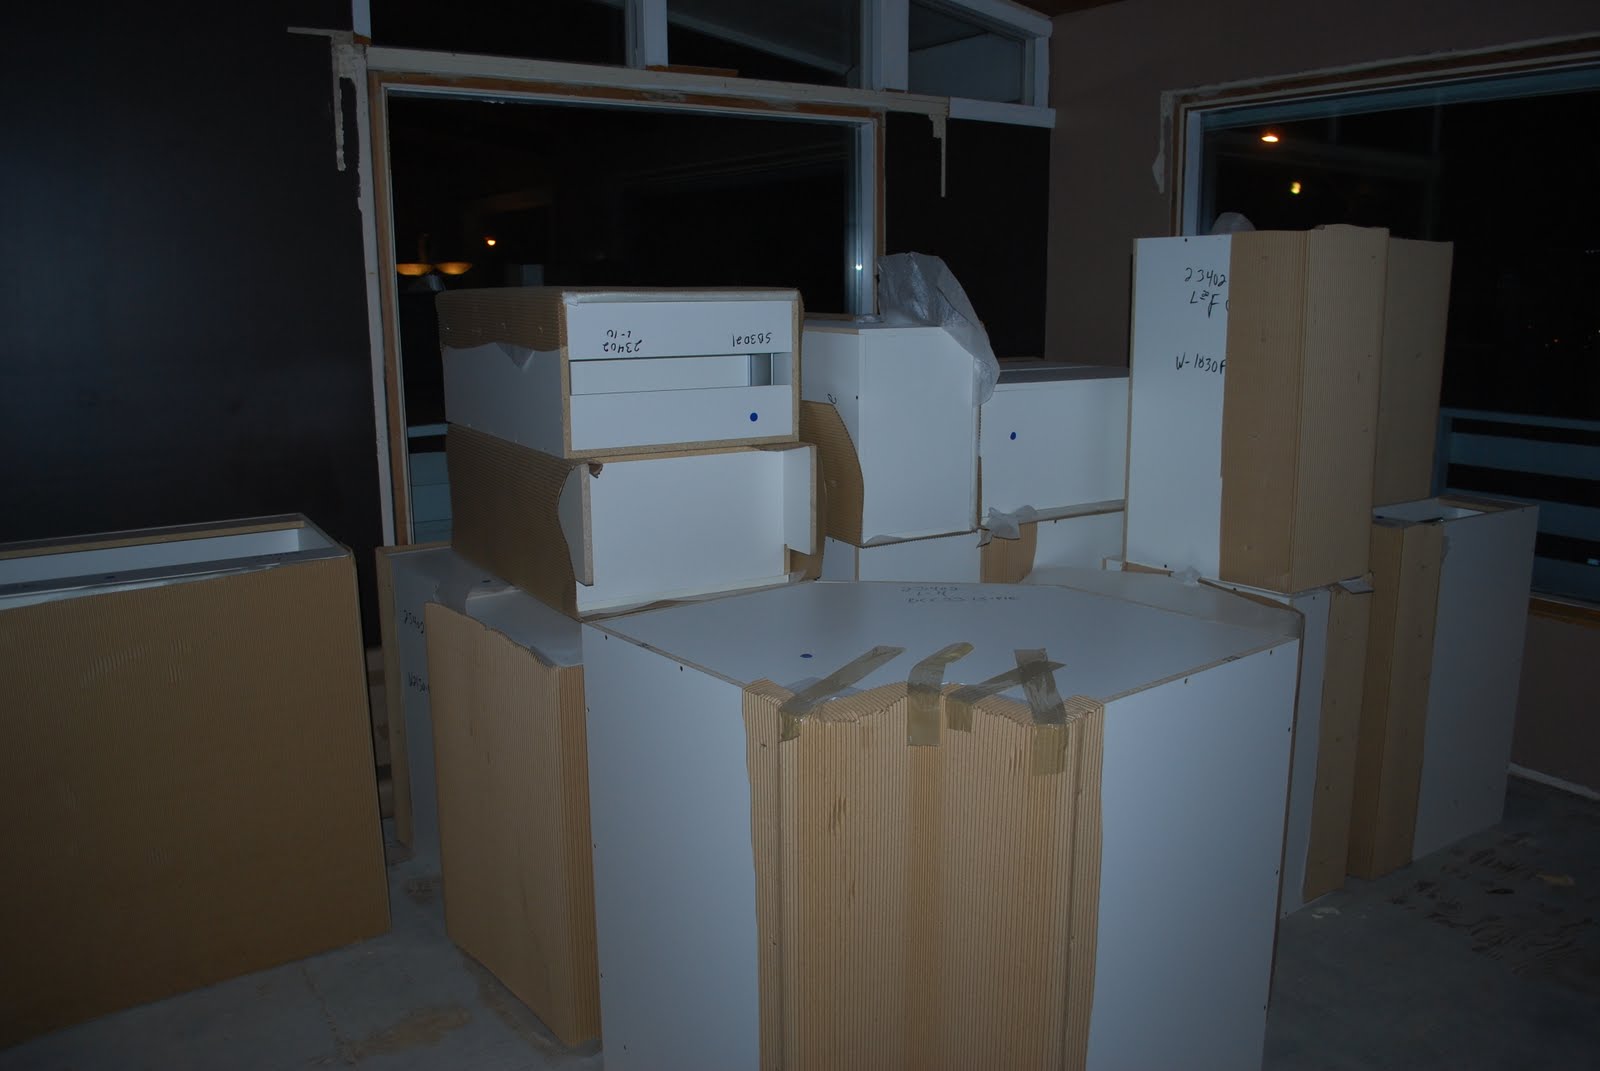
By the time you read this, our kitchen cupboards (See below) will be well on their way to being installed. We've had to postpone the installation for the two previous weeks, so it's kinda hard to believe this is gonna happen. We spent our entire weekend in overdrive taping, mudding, sanding, painting and staining in preparation for the big day.


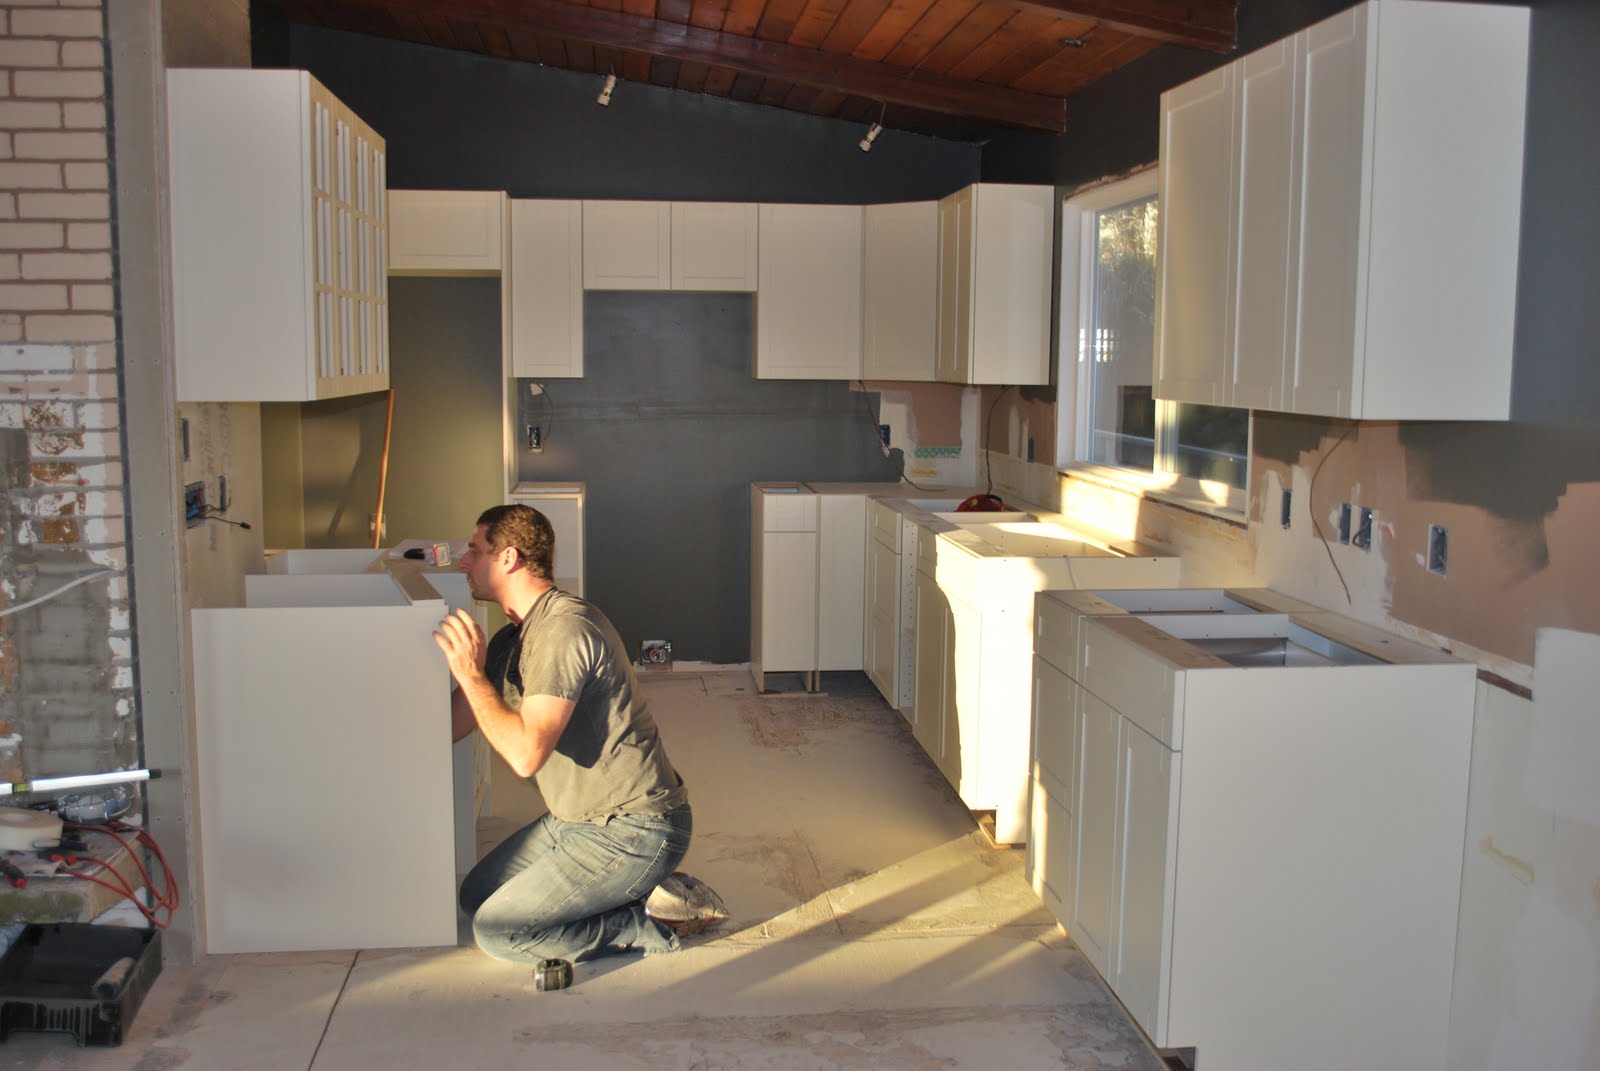
This is "Mudder" applying a second coat of paint to the west wall of our kitchen following a host of touch ups. We kinda like the grey ... it looks very close to how we'd imagined. Anyone else like to chime in with their two bits? Too grey, or not too grey? Jennifer Grey?

One errant move with the paint roller and you're forced to do a drastic touch up job, and this one - see below - I hate to admit but it'll require additonal touch ups to make the mark "invisible."

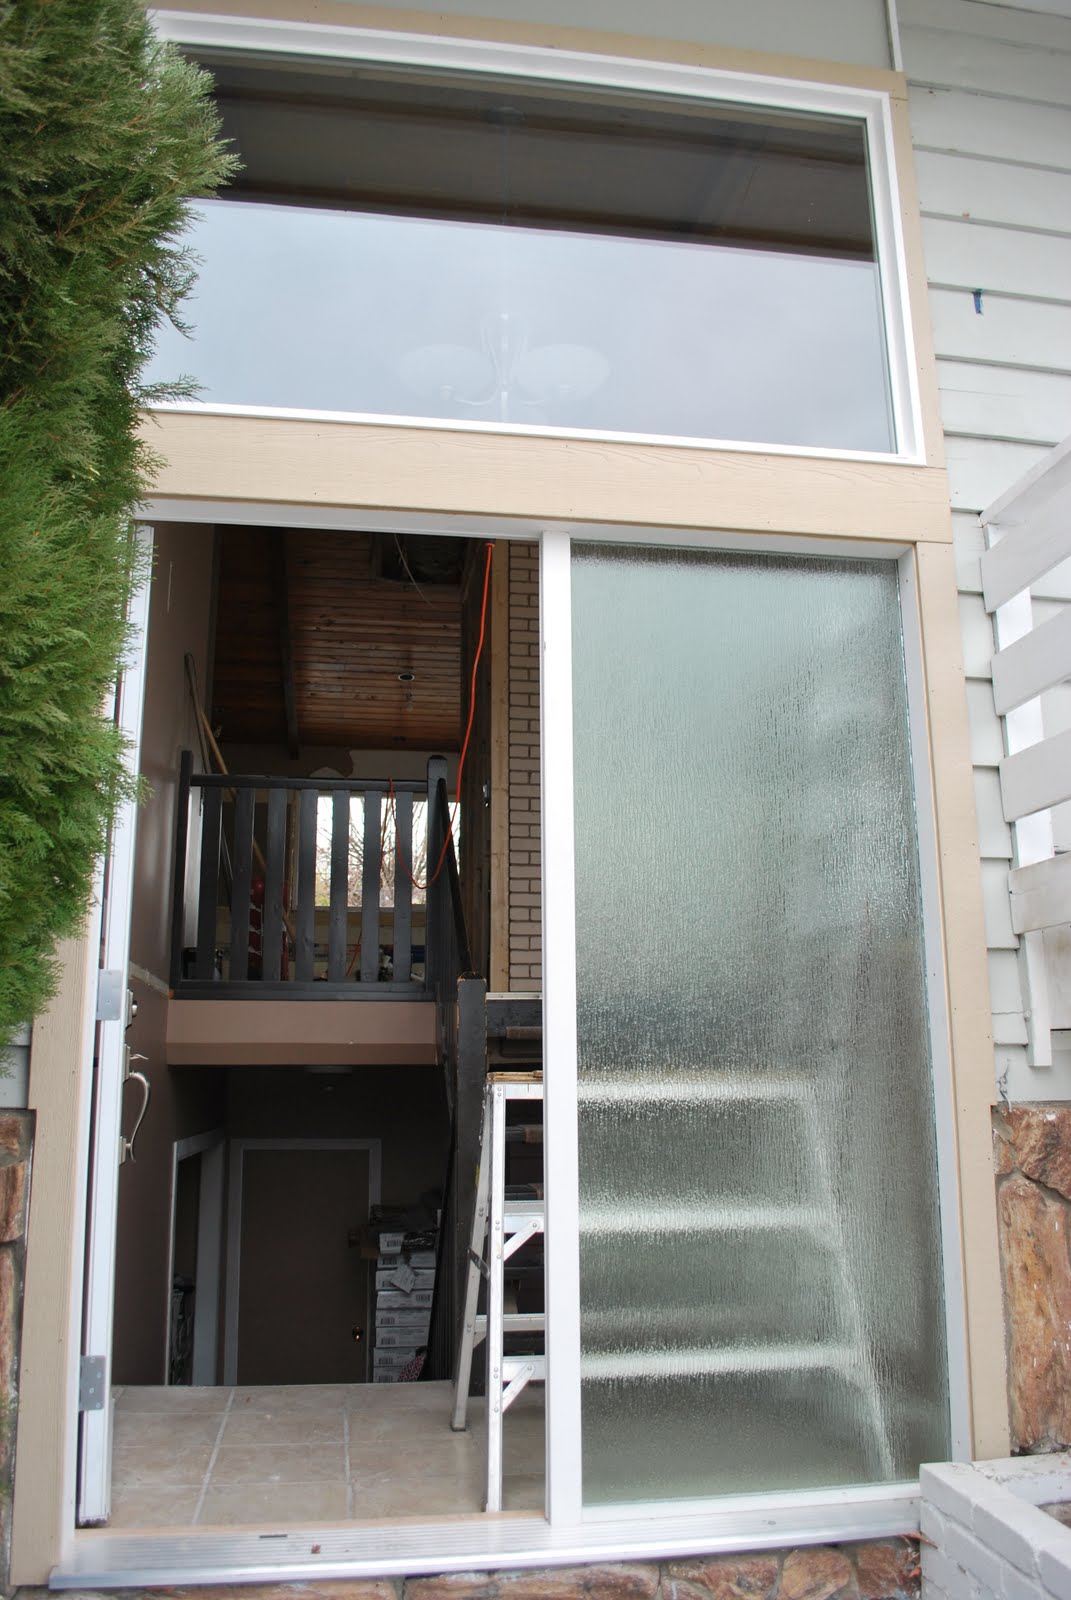
THIS is how the west and north walls appeared in between repairs. A little splotchy but the end result looks much better. And, please take note, the cupboards will be consuming a majority of the space you see from this angle.


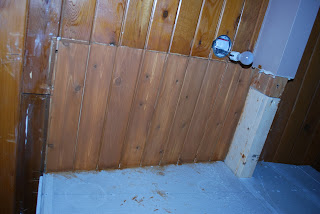
It turns out that Mudder's talents extend beyond the mudding spatchula; she also stained the wood on our ceiling where we made the repairs. These two are the result of the first coat:

And then after three coats ...


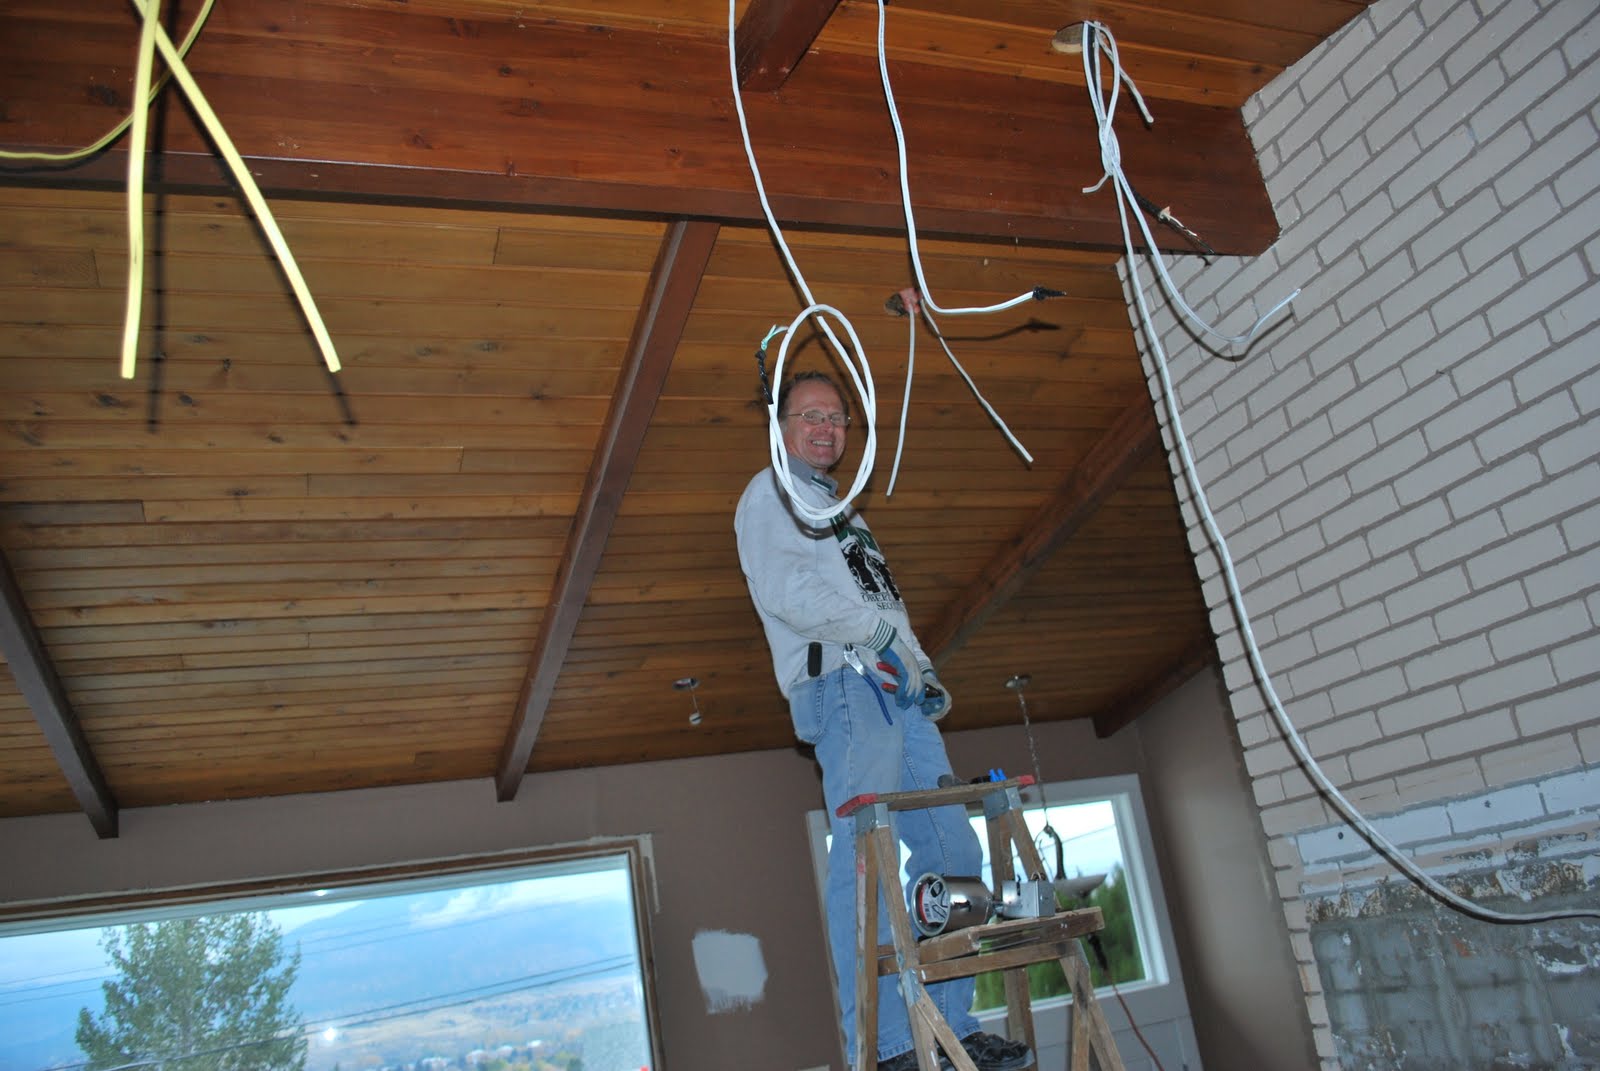
In this out-of-sequence shot, I was busy fastening the drywall to the wood beam after which I began the first of what were three painstakingly difficult mudding jobs. I didn't take a picture of the almost finished product. It really does look much better than the example above.


It's been a difficult undertaking so farr, and tonight, we were bothfeeling a little stressed about the mudding in particular. We're now seeing why people have given us strange looks and comments such as "Doing the drywalling yourself, hey? We never do our own drywalling we hire someone to do that. Too hard. Drywalling? That's the one thing I never do myself.
*sigh*
Well after a quick visit from Handyman Al and a hot and spicy Caesar, we went back to the scene of the crime, and soldiered on, determined to finish the mudding all on our own. We've invested too much time to surrender our work to someone else, in part because we'll end up spending about the same amount of money if we pay someone else to finished the work - (plus all of our hours invested, and trust me, it's a whooole bunch) - at its current stage as we would have if we'd hired someone to do all the work.
Mudder joked that she'll be hugging her cupboards once they're in. That's something we can all look forward to!


Tuesday, November 16, 2010

I can see clearly now ... or ... Opening the windows and doors to our neighbourhood

It's true. The installers came and put in our windows and our door, and they look great. For instance, take a gander out our new kitchen window (minus the bay, but I think it improves the viewscape dramatically).


The door looks great, and the hardware we got at Rona for the door is exactly what we were looking for. As you see from the picture below, the window above the door allows for more than ample light, and the sidelight (runs alongside the door) with the waterfall-like etching, compliments the entire area. In the next photo, Chris is busy insulating and framing the area while outside, the cold November wind was enough to send a chill down one's spine. Good timing on the installations.


Amazing how much equipment they bring for the job, transforming our carport into a makeshift workshop. Here, Jim works the tablesaw while Chris grabs insulation for the door area.


Meanwhile our electrician, "The Gerry," a.k.a. Gerry, was busy getting us wired for our kitchen installation which we'd already pushed back (or is it ahead?) a week so it would be inspection-ready for Nov. 15. Well, it's now the 16th and unfortunately we still weren't ready. All aboard for next Tuesday (23rd). I hope.


By the time Thursday came, and with numerous wires dangling from the ceiling, The Gerry had made great progress on our pot lights and light switches.


Today, Handyman Al came over and I helped him hang the cement board that goes on the back and side of the fireplace so we can hang our cupboards and lay our cultured stone on it. We also drywalled the open spots on the walls that were exposed during the wiring, and tomorrow we expect to have the wood slats on the ceiling cut and nailed up. Once that's done, we've got some taping, mudding to do, plus slapping on a couple coats of paint, and voila! We'll be kitchen ready.
Then there's the rest of the house that needs painting, the flooring, the stairs and railing, and on it goes...